THE FIELD GUIDE
Dawnwalker Gameplay Systems
Plan around the campaign clock, use the right form for each route, and prepare at shrines. These are the systems that connect exploration, combat and your next quest decision.
The essentials before you set out
The Blood of Dawnwalker gives Coen different options by day and by night. Exploration, conversations, equipment and skill choices all feed into the same campaign, so the useful question is what your next objective needs: a particular form, a usable route, a learned ability or time on the clock.
Use this overview to prepare a session. The linked guides cover the exact costs, quest conditions and build rules when you need a more detailed answer.
- Read an objective’s time and phase requirements before committing to it.
- Discover usable shrines so you can travel, store supplies and learn skills.
- Choose equipment effects and active abilities for the form you expect to use.
- Keep a manual save before a choice you may want to revisit.
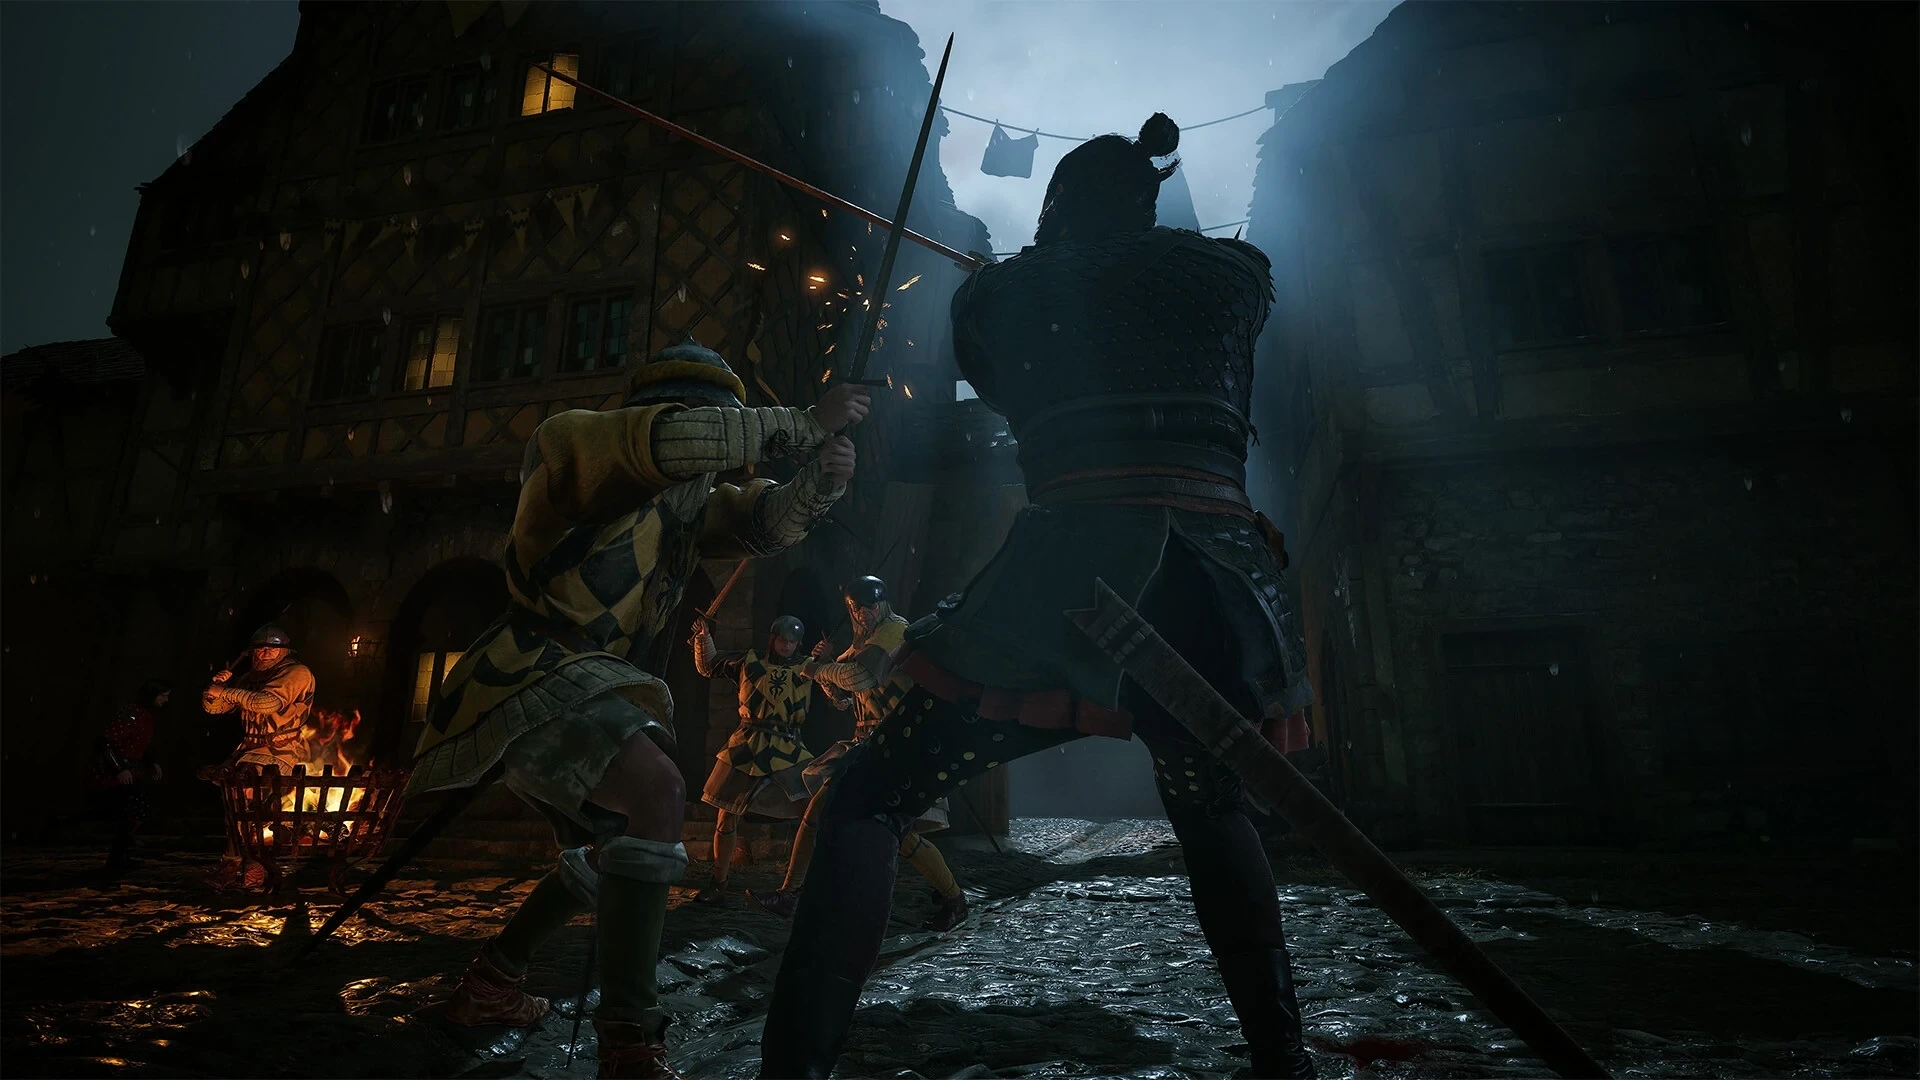
The campaign clock measures actions
After the prologue, the family-rescue campaign starts with 30 days. Each daytime phase has eight segments and each nighttime phase has eight more: 16 segments per complete cycle, or 480 starting segments.
This is an activity budget rather than a countdown in real-world minutes. Check the hourglass cost shown for a quest objective or skill purchase. A quest can contain several paid steps, and the displayed cost for one objective is not the total cost of every possible route through it.
Day-only and night-only requirements are separate from time costs. Time-sensitive objectives can also have their own consequences. Before changing phase, finish the activities that need your current form and check the next objective’s conditions.
Day and night give you different tools
Swordmastery supports both forms. Witchcraft belongs to the human daytime form, while Vampirism becomes available at night. A route that is straightforward with a vampire traversal ability may need a different approach during the day.
Learning an ability and equipping it are separate actions. The active bar has limited capacity; a capacity upgrade creates room but does not automatically fill the new slot. Review which abilities you have selected before a fight or a difficult climb.
Use Equipment Preview in Inventory to inspect the Day Set and Night Set before setting out. Closing the panel returns the active selection to the set you entered with.
Health and Blood Craving also deserve a check before you approach a quest character at night. Use the healing guide to distinguish restoring health, restoring blood and the risks of feeding; do not treat every recovery item as interchangeable.
Shrines connect travel, storage and preparation
Fast travel connects discovered, usable shrines. Interact with a shrine, choose Fast Travel and select another discovered destination. Seeing a distant marker is not the same as discovering a shrine you can travel to.
Some shrines need repairs or nearby guards dealt with before they are usable. If travel is unavailable, check both the shrine’s condition and your inventory weight. Exceeding the carry limit can block running and fast travel.
Storage is available at shrines, alongside learning skills and passing time. Put away equipment you do not need, compare the ranks you intend to learn and check their displayed time cost before choosing to wait. An unnecessary skill purchase still spends points, even if its time cost would move you into the desired phase.
Prepare a loadout for the encounter
Compare a weapon’s damage range, weight and effects, then consider how those effects fit the abilities you actually use. Armour also has a type, a weight and effects; the largest base armour number is not the only trade-off.
Use the Build Planner to put equipment and skill choices together. Its totals summarize the listed equipment and ability rules. They do not predict every enemy interaction, your entire backpack weight or final combat damage.
When an encounter is blocking progress, check the boss or creature entry for access conditions and available combat details. A missing value means it is not listed in the reference, not that the enemy has zero resistance or no reward.
Action and RPG difficulty affect different rules
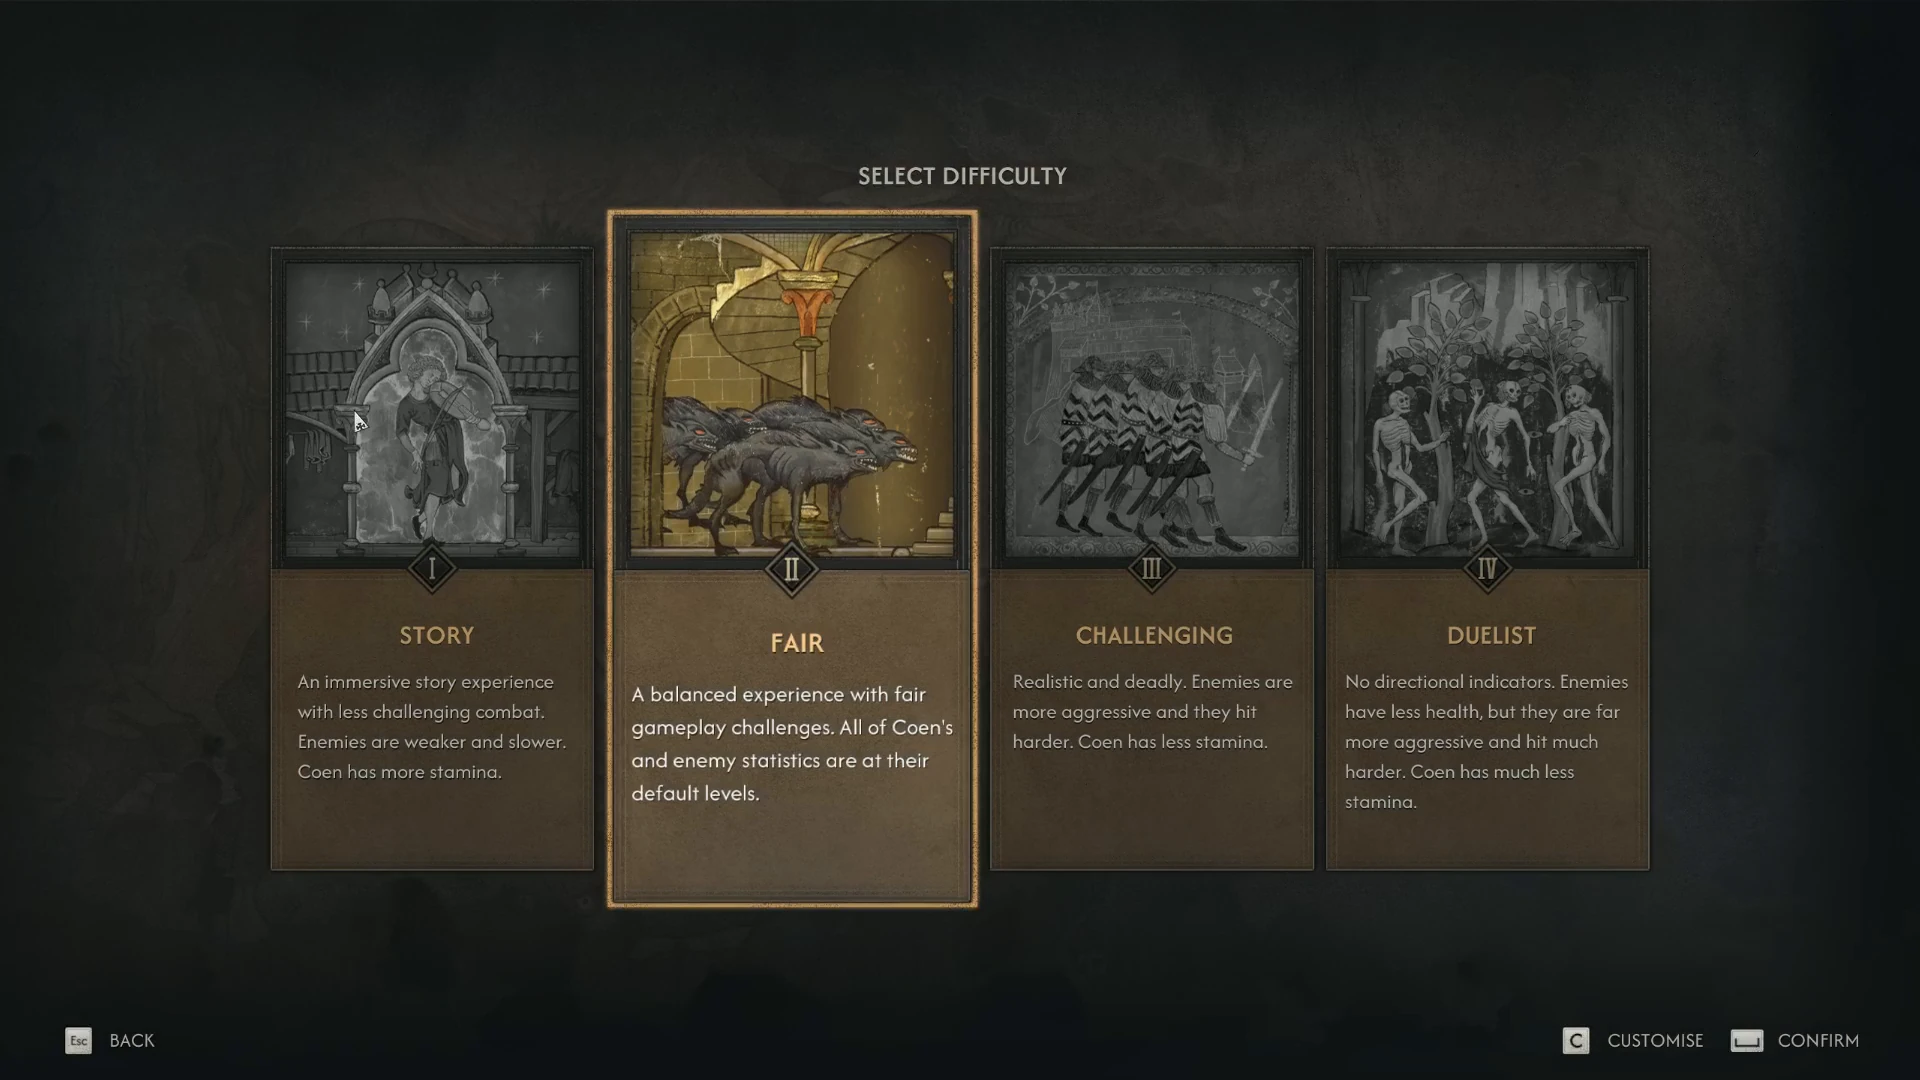
Action difficulty changes timing and enemy behaviour, including attack speed and parry windows. RPG difficulty changes health, damage and player combat stamina-cost multipliers. Check both selections when using custom settings.
Difficulty, enemy level and temporary effects can all matter when a fight feels different from a listed base value. Use the encounter reference to prepare, then check the settings and conditions of your current game.
Compare a merchant’s quote with the item’s base value
The equipment and item directories list base buy and sell values. A merchant’s final quote can differ because of the item’s level and active price effects. Compare the exact item version and your current effects before assuming that a higher quote is an error.
Infamy-related edicts and Bewitching Influence can change buying or selling terms. Check the Court panel and your learned skills, and keep trade prices separate from weapon damage or the level needed to equip an item.
Save types, quick keys and locked saving
The save menu distinguishes Auto Saves, Quicksaves and Manual Saves. A manual save before a branching choice gives you a clear point to return to; check the date, campaign day and playtime shown beside the file you intend to load.
The default keyboard shortcuts are F5 for Quicksave and F9 for Quickload. They can be rebound in the Shortcuts controls group. The pause menu also provides a Quicksave action.
A temporary saving lock during combat or a scripted sequence is different from a bug that leaves saving unavailable afterwards. Leave the restricted situation and check again. Hotfix 1.0.4 addressed a saving blocker; the patch article explains that fix alongside the related PC changes.
Choose the next guide for your route
The overview is a starting point. Follow the time guide for exact clock rules, the map for destinations and the relevant mechanic guide when a choice depends on more than your equipment.